When starting your cloud journey with Microsoft Azure, two foundational building blocks you’ll frequently encounter are Resource Groups and Virtual Networks (VNets). These components form the organizational and networking backbone of nearly every Azure solution. Let’s walk through creating these essentials and understand why they matter.
Why Start with Resource Groups and Virtual Network?
What is a Resource Group?
A Resource Group is a logical container that holds related resources for an Azure solution. Think of it like a folder on your computer, where you group files (in this case, cloud resources) that belong to the same project or environment.
🔧 Key Features:
• Organizes resources like VMs, storage accounts, and databases.
• Allows for easier management, monitoring, and access control.
• Resources in the same group can share the same lifecycle (deploy, update, delete together).
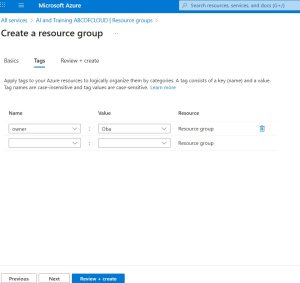
• You can apply tags, policies, and role-based access control (RBAC) at the resource group level.
What is a Virtual Network ?
A Virtual Network in Azure is the fundamental building block for your private network in the cloud. It allows resources like VMs to securely communicate with each other, with the internet, or with on-premises networks.
🔧 Key Features:
• Isolates and segments your network logically, similar to a traditional on-premises network.
• Supports subnets, IP address ranges, route tables, network security groups (NSGs).
• Enables secure communication between Azure services and external networks.
• Essential for deploying services like VMs, Azure Kubernetes Service, or App Services with VNet integration.
Step-by-Step guide of creating a Resource group and creating a Virtual network in a resource group both in Azure.
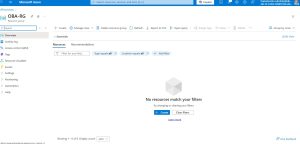
Step 1: Creating a Resource Group using Azure Portal
- Sign in to Azure Portal
- Click “Create a resource” (+icon) in the top left
- Search for “Resource group” and select it
- Click “Create”
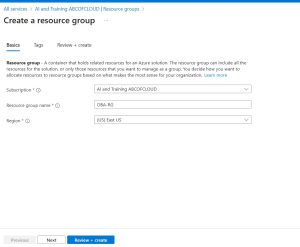
- Configure: -Subscription:
Select your active Azure subscription
Resources Group Name: Enter a unique name (e.g., OBA-RG)
Region: Select a region (e.g., East US, West Europe)
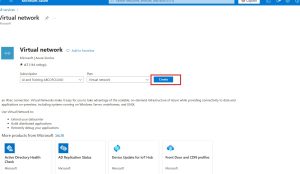
Step II: After creating the resource group, go to “create a resource” again
Search for “Virtual network” and select it and click “Create”
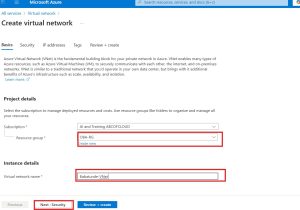
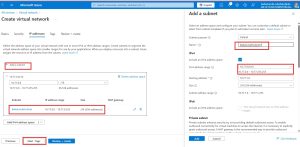
On the basics tab:
- Subscription: Select your subscription
- Resource Group: Choose the one you just created
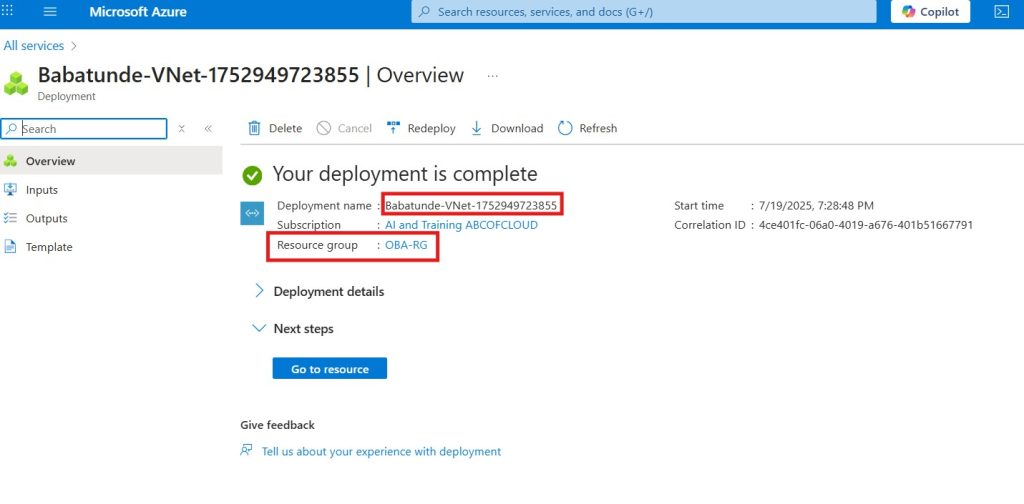
- Name: Enter a name for your VNet (e.g.,Babatunde-VNet)
- Region: Match the region of your resource group
- Click Next: IP Addresses
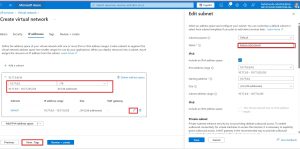
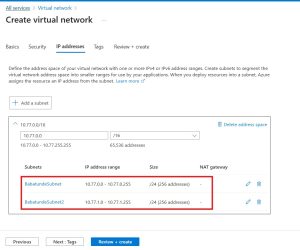
- Define the Address space (e.g., 10.77.0.0/16)
- Add a Subnet (e.g, Subnet1 with 10.77.0.0/24)
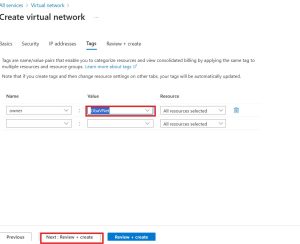
- Click through the remaining tabs or leave defaults
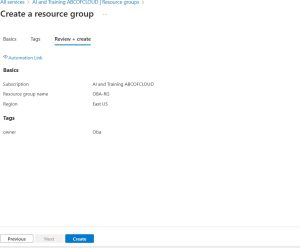
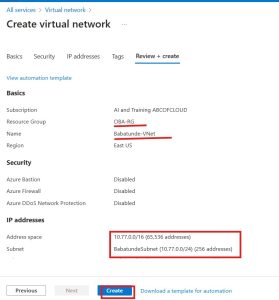
- Click Review + Create, then Create
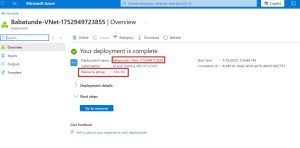
Important Notes:
- No resources are running in the Vnet yet
- No firewall rules configured
- No internet connectivity configured yet
- Cost Impact:
- Resource Group: Free( just a logical container)
- Virtual Network: Free( you only pay for resources inside it)
- No ongoing charges until you add VMs, gateways etc
- Cost Impact:
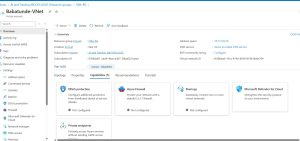
You now have a clean Azure networking foundation ready for deploying resources.